Segmentation in QuPath
To perform the segmentation of higher-order morphological structures, import WSI (Whole Slide Imaging) images into the QuPath project downloaded during installation.
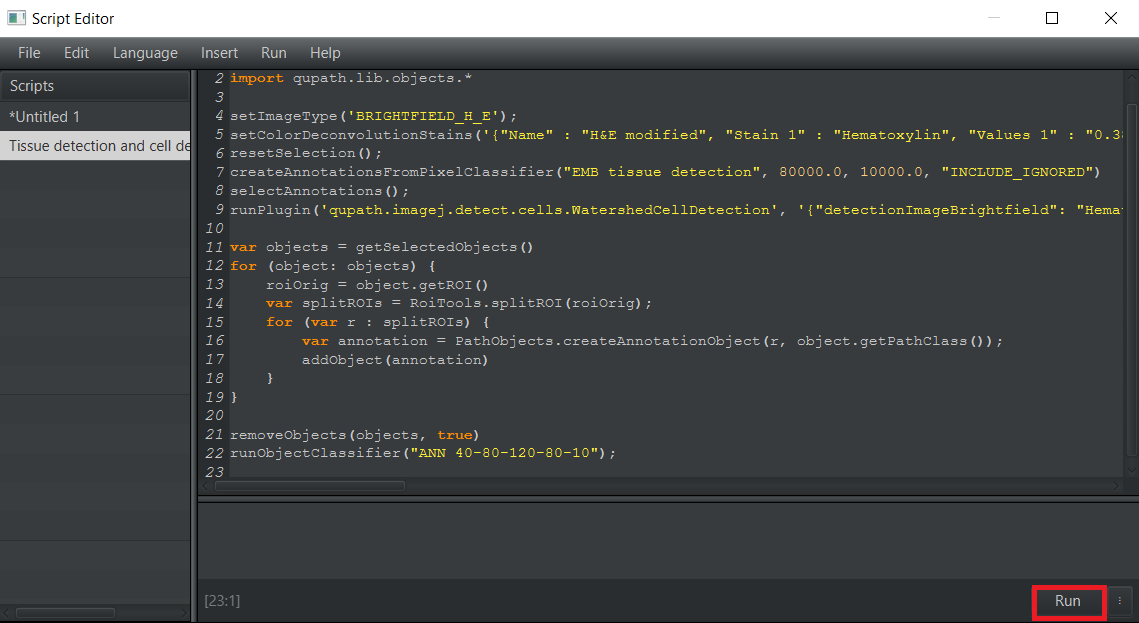
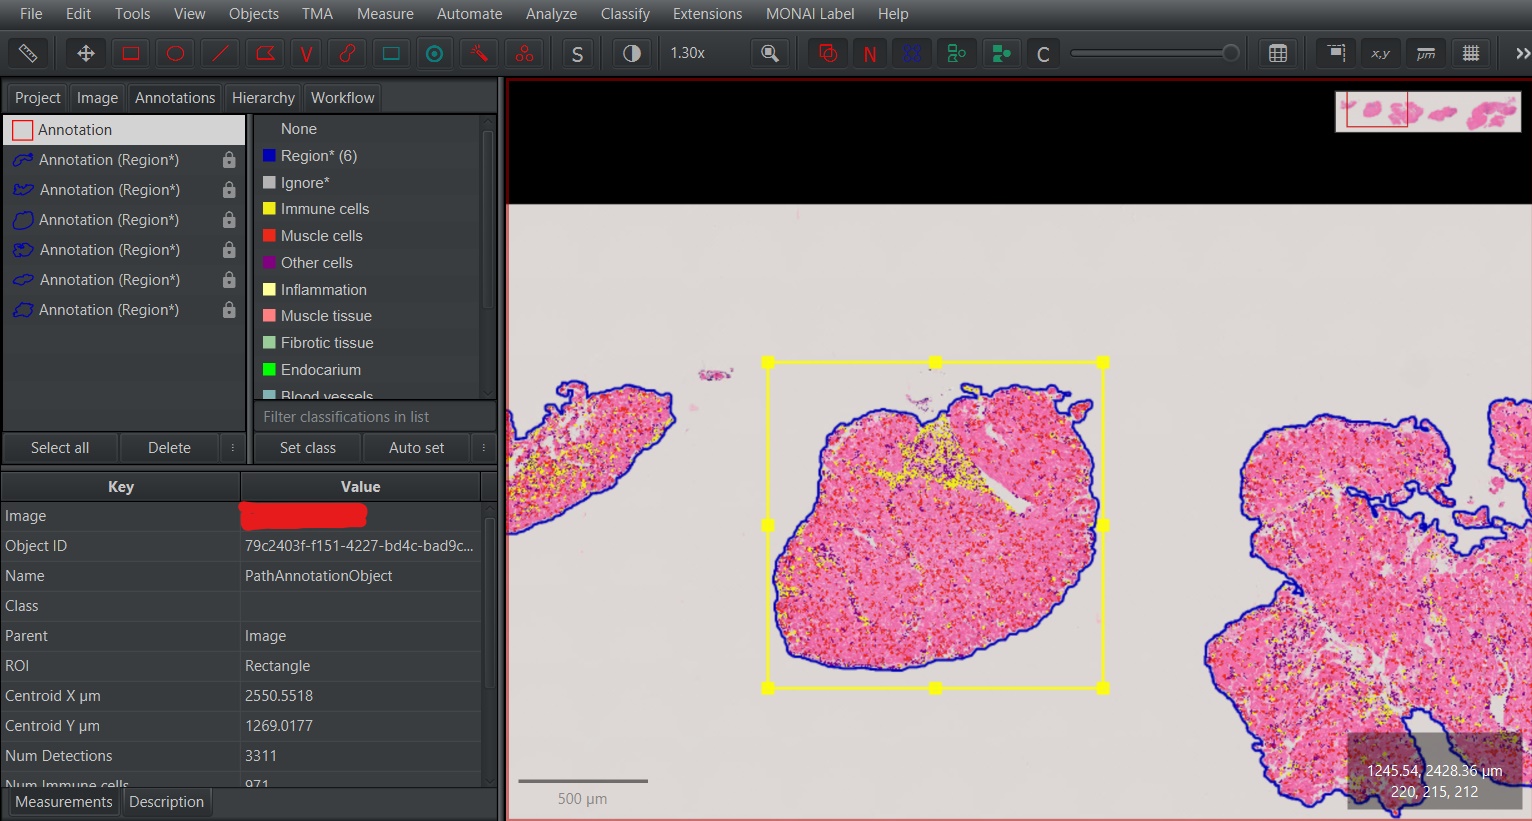
Create annotations for tissue and cells along with their classifications. For this step, you can use the downloaded script.
To use the downloaded script,
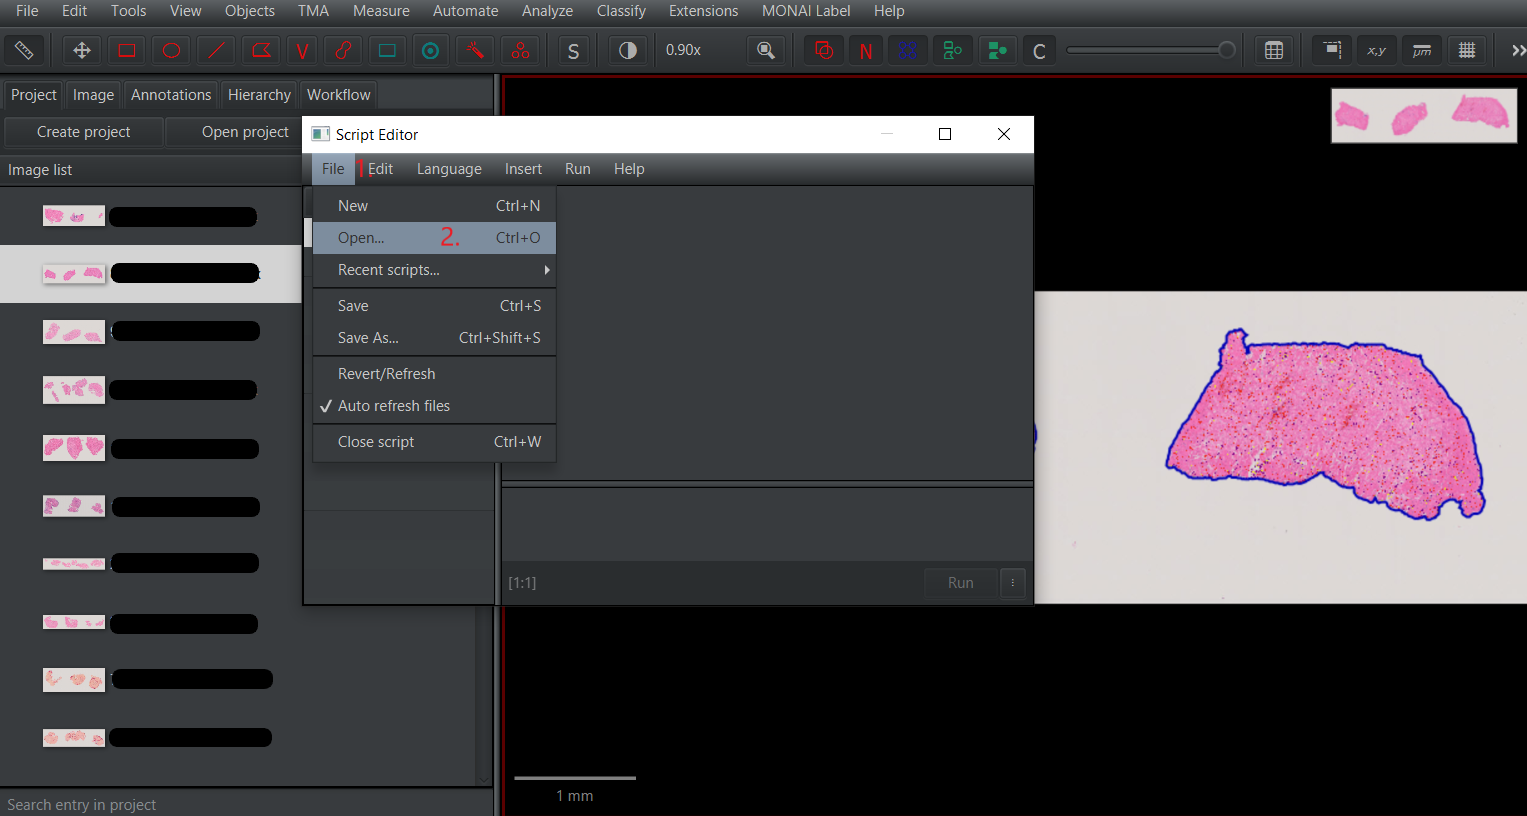
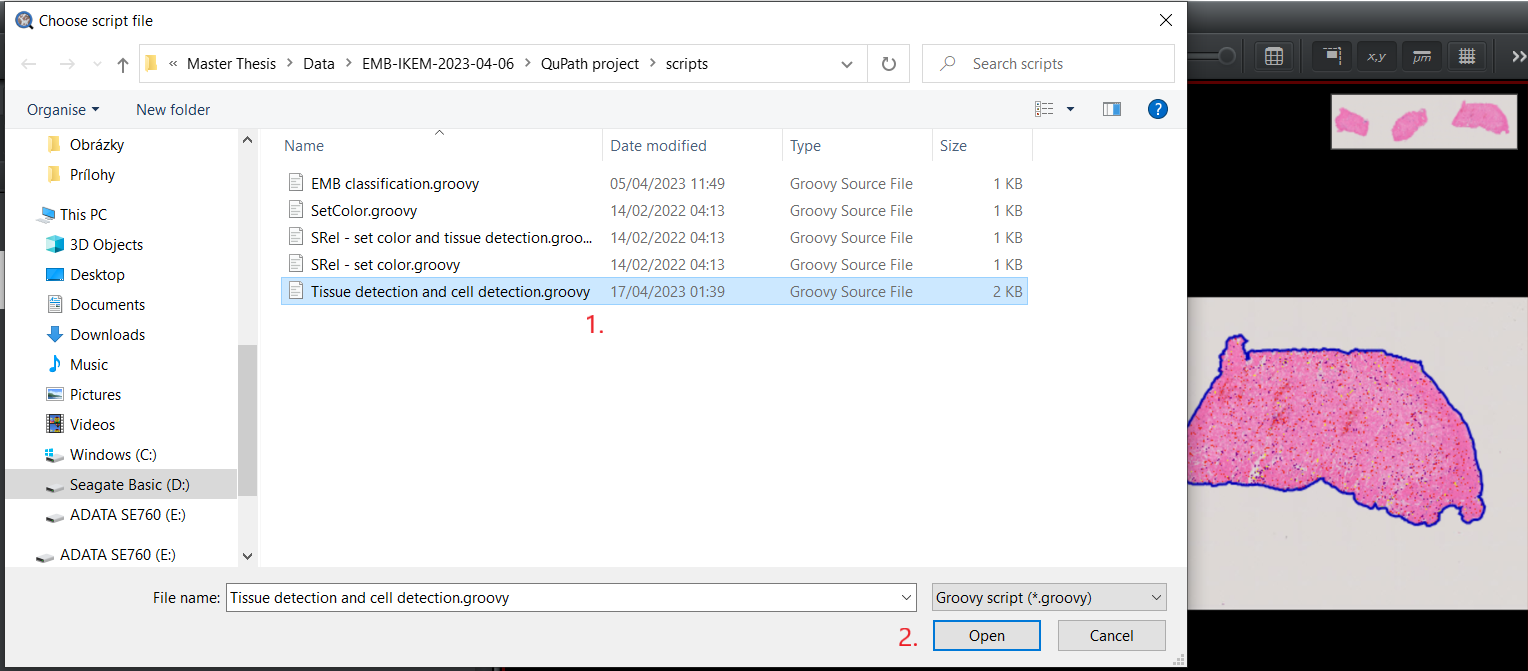
Tissue detection and cell detection.groovy, open it in the panelAutomate>Show script editor. Once theScript editoris open, selectFile>Open...and choose the directory where the downloaded scripts are located. Select the scriptTissue detection and cell detection.groovy.After loading the script, choose the optionRunto perform tissue and cell segmentation and cell classification.1.1 Open
Script editor.
1.2 Select the directory with the script.
1.3 Load the script.
1.4 Run the script on the image.
Select the area of the image for which you want to perform prediction.
Choose
MONAI Label>Create annotations...and then select the model you want to use for prediction in theModel Namesection.The currently available models are:
deeplab_structure- DeepLabV3+ for predicting vessels, inflammation, and endocardium in H&E imagesnestedunet_structure- U-Net++ for predicting vessels, inflammation, and endocardium in H&E imagessrel_segmentation- U-Net for predicting endocardium in SRel images
Press
OKafter selecting the model.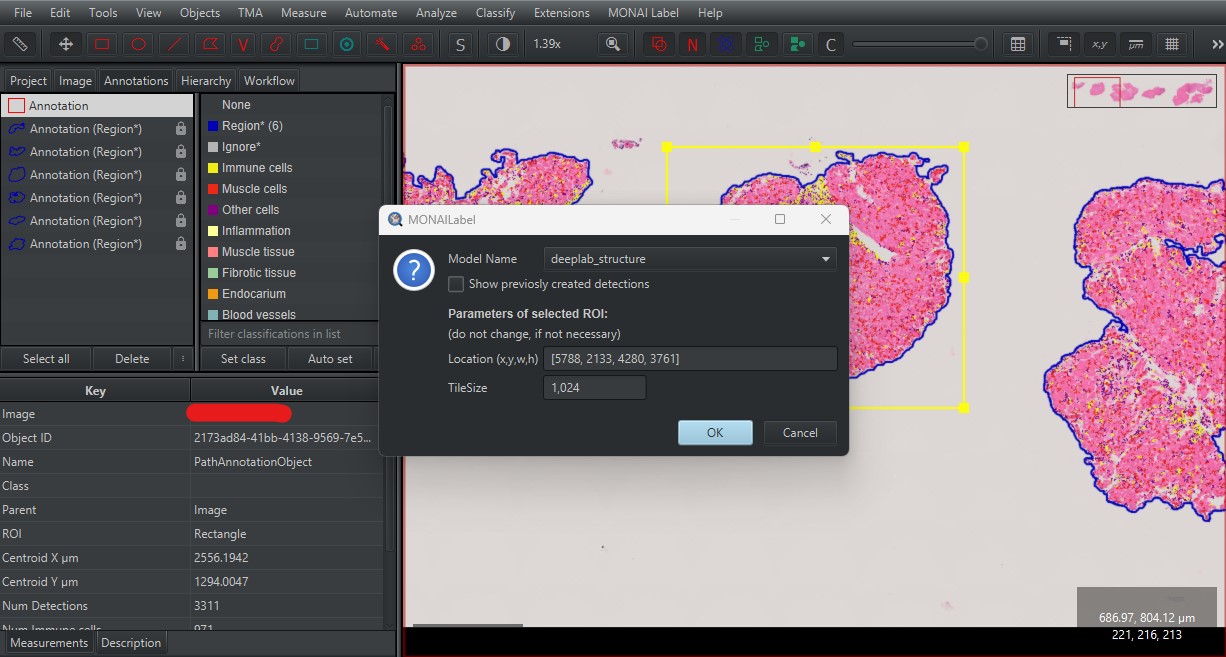
After the prediction is completed, the results are available in QuPath, where you can edit, delete, or manually add missing annotations.
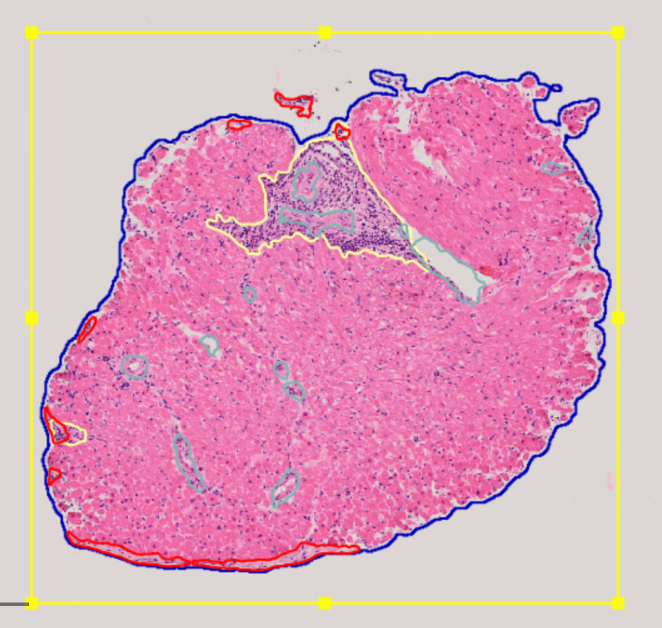
To select annotations for deletion, enable Selection mode by choosing S in the panel. Once Selection mode is enabled, you can use various selection methods, such as rectangular selection or brush selection. To cancel Selection mode, click S again.
